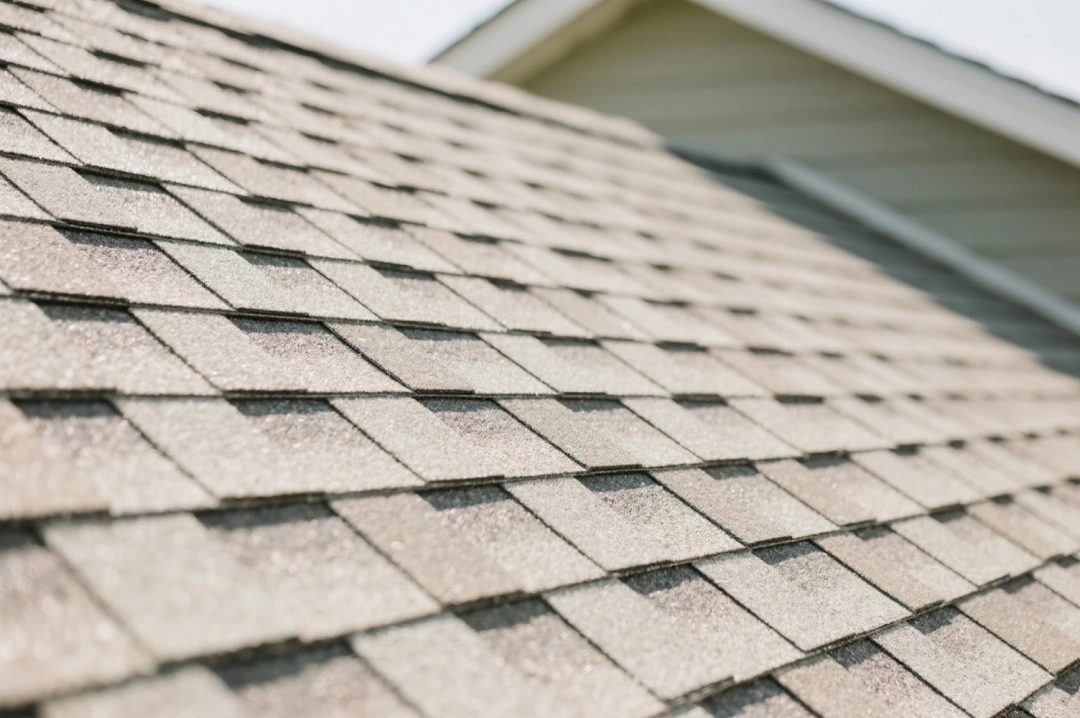
Installing Felt Shingles on Sheds, Garages and Outbuildings
Installing felt shingles is a great way to improve the appearance and durability of roofs on sheds, garages and other outbuildings.
These shingles not only protect against rain and wind but also add a smart, finished look to your structure. Whether you are replacing an old roof or fitting a new one, this guide will help you through each step of the process.
Felt shingles are popular because they are affordable, easy to use and come in many colours and styles. Many homeowners choose them for their mix of function and style, without needing specialist tools or training. They can often be installed using items you already have at home, which helps keep costs low.
With the right planning and care, you can install felt shingles in a way that keeps your outbuilding safe, dry and looking good for years to come. Taking the time to do the job properly means you can enjoy the benefits without needing to worry about leaks or weather damage.
Planning Your Felt Shingle Installation the Right Way
Before you start laying any shingles, proper planning is essential. A little preparation goes a long way to ensure your installation is safe, secure and long-lasting.
Check the Weather Forecast
Choose a dry day or a few clear days in a row for your installation. Felt shingles should not be installed in the rain or on a wet surface, as this affects how well they stick and perform. Wet conditions can also make the roof slippery and dangerous to work on.
Try to work in mild weather to avoid shingles becoming stiff in the cold or soft in direct heat. Weather also affects how safe and comfortable the job feels. If it is too hot, shingles can warp or become hard to handle, while cold weather can make them crack when bent.
Gather Your Tools and Materials
You will need a hammer, roofing nails, utility knife, measuring tape, roofing adhesive and the felt shingles. A safe ladder and gloves are also important for protection. Wearing safety glasses can also help when cutting shingles or using nails.
Make sure everything is in good condition before you begin. Damaged tools or damp materials can slow down the job or cause problems later. Lay out your tools within easy reach to avoid unnecessary climbing up and down the ladder.
Measure the Roof Area
Measure the length and width of each roof section to work out the area in square metres. This ensures you buy the right number of shingles. Getting this right saves time and helps avoid running out of materials halfway through the job.
Add about 10% extra for waste or errors. Buying all shingles from the same batch helps keep the colour consistent. It is also wise to double-check your calculations before placing your order to avoid delays.
Inspect the Roof Structure
Check that the roof is solid, dry and smooth. Remove loose boards and fix any signs of rot, mould or pest damage before installing anything. Check for any nails or screws that stick out and could tear the felt.
A stable roof surface is key to making sure the shingles stay in place and last longer. If the surface is uneven, use new boards or smooth out problem areas to give the shingles the best base to stick to.
Need assistance finding felt shingles near you?
Get a QuoteHow to Fit Felt Shingles Correctly
When fitting felt shingles, a calm and steady approach makes a big difference. After checking the roof, begin with a base layer of underlay. This adds moisture protection and should be fixed using nails or staples around the edges. If your roof already has felt, make sure it is still in good condition before adding new shingles on top.
Lay shingles from the bottom edge upwards. This allows each layer to overlap the one beneath, helping water flow off the roof. Overlapping by 5 to 10 centimetres helps seal the roof and creates a neat finish. Keep each row straight for a tidy look and stronger coverage. Use a chalk line or piece of string to help keep your rows even.
Use roofing nails near the top of each shingle and press them flat as you go. At the ridge, fold the final shingles or use ridge caps to protect the top join. A tidy ridge improves strength and gives a smart finish. Be sure to cover all gaps and avoid leaving spaces where wind or rain could get through.
For extra hold, especially in windy areas, apply roofing adhesive to the corners or edges. This is also helpful in cold weather when nails alone might not be enough. Trim excess felt carefully with a utility knife and inspect your work to make sure everything is aligned and secure. A final check of the whole roof helps spot any missed areas or loose sections before the next rain comes.
Common Mistakes to Avoid With Outbuilding Roofs
Simple jobs like fitting felt shingles can still go wrong if not done carefully. One major mistake is laying shingles on a roof that is damp, uneven or damaged. This often leads to lifting or wear and may cause leaks or early repairs. It is important to wait for good weather and to fix the surface before starting.
Another issue is starting at the top instead of the bottom. Water must flow properly, so always begin low and work up with overlapping rows. Mistakes with nail type or spacing are also common. Too few nails or the wrong kind can leave shingles loose and at risk of wind damage. Check the packaging or ask for advice if you are unsure which nails to use.
Rushing leads to misaligned rows, which weakens the roof and spoils the look. Take your time and double-check each section. Use a helper if possible, especially when cutting or holding longer rows. Finally, never ignore safety. Use a stable ladder, wear gloves and take care when working high up. For steep or large roofs, ask someone to help or watch. Working slowly and carefully is always better than risking a fall or injury.
Tailoring Your Approach to the Type of Building
Each outbuilding has different needs. Matching your method to the type of roof helps you get the best result and avoid wasting time or materials. Think about the size, shape and purpose of the building before you begin.
Sheds and Small Garden Buildings
These usually have simple roof shapes, such as a single slope or small gable, which makes them quicker and easier to cover. Most can be done in a day with help, and you will not need much gear to reach the roof safely. This makes them ideal for DIY projects, especially for first-time installers.
If your shed has thin boards, be gentle with the nails. Extra adhesive may help where boards feel soft or flexible. Be sure to check inside for signs of light coming through the roof, as this may show where shingles need extra sealing.
Garages and Larger Structures
Garages need more planning due to their size. They require more shingles and longer working time. You might want to break the job into parts to avoid fatigue. Take regular breaks to stay focused and avoid mistakes.
Check for vents or skylights that need special cuts or seals. A garage roof may also support heavier loads, so secure the shingles firmly and consider a stronger underlay. Use extra nails or wider overlaps if the area is exposed to wind or heavy rain.
Workshops and Utility Buildings
Flat or low-pitch roofs are common on workshops and can be tricky for water run-off. Make sure overlaps are tight, and use extra adhesive if needed. You can also add a waterproof layer beneath the shingles to help prevent leaks. Look for areas where water pools and add sealant or extra layers to those spots.
Because workshops often hold tools or equipment, keeping the inside dry is very important. Check inside after the first rainfall to make sure everything is watertight. Add guttering or overhangs to help direct rain away from doors and walls.
In this article: